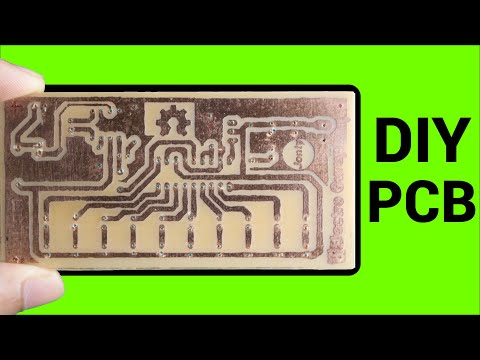
Printed circuit boards (PCBs) form the backbone of all electronic products and prototypes. Etching circuit layouts on copper clad boards is a critical first step in PCB fabrication. While small-scale commercial PCB production works for simple boards, it can get expensive for frequent iteration during product development stages. This is where a homemade PCB etching machine comes handy for rapid in-house prototyping.
This article provides step-by-step guidance on building your own DIY etching equipment with easily available components. We cover the complete instructions from the etching process basics, identifying materials needed, construction methods and tips for optimal results.
How PCB Etching Works
Before we jump into constructing the etching setup, let us understand the mechanics of copper etching.
The etching process removes unwanted copper from a copper clad laminate board to leave behind the intended conductive pattern – something similar to developing photographs. The key aspects are:
- Printed circuit board with copper layer on substrate
- Etching solution dissolves copper
- Etchant-resistant protective layer on areas not to be etched
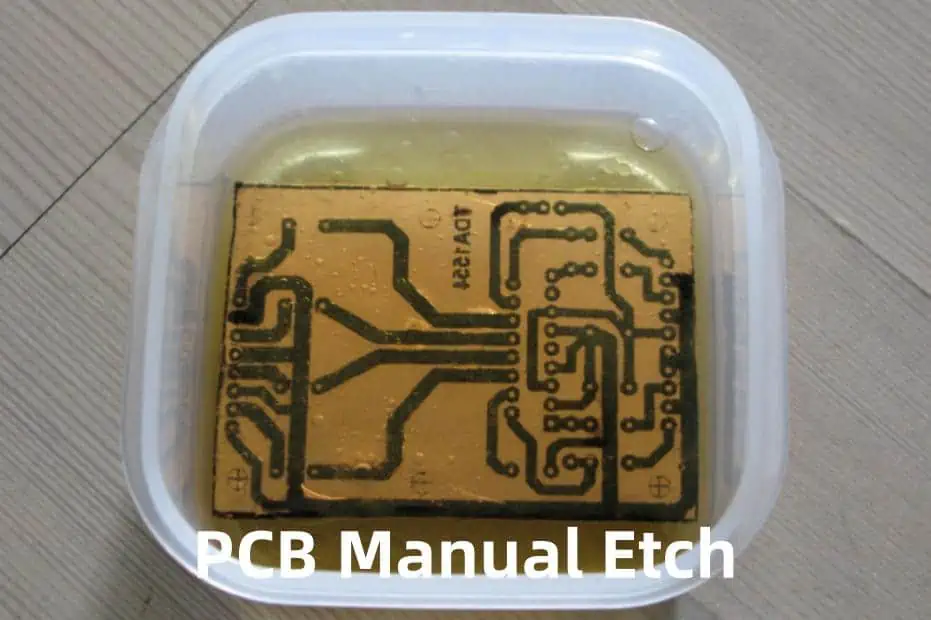
So the PCB sample is immersed into the etching solution which eats away copper without a protective mask. The masked areas emerge with copper traces in the desired circuit layout after etching and mask removal.
The DIY etching machine automates the immersion, agitation and rinsing steps while maintaining proper etchant characteristics.
Now let us look at choosing the right materials before designing the etching system.
Materials Selection
To build a functioning PCB etching setup, we need to select:
- An enclosure tank
- Etching solution
- Agitation method
- Heating approach
- Plumbing fittings
Let us go through the options for each category and criteria for selection:
Enclosure Tank
This container holds the etching solution and the PCBs undergoing etching.
Ideal attributes are:
- Acid-resistant material
- Adequate size for PCB samples
- Accessible for placing boards
- Ports for fittings
- Solution level markings
Suitable materials are glass, stainless steel & chemical-resistant plastics like HDPE, PP, PVC, PVDF. Avoid using aluminum.
5-10 liter tanks are common for DIY machines allowing 150×100 mm PCBs. Rectangular shapes provide a compact footprint. Ensure minimum two ports for fluid connections.
Etching Solutions
We need an etchant that can efficiently dissolve copper without harming the base laminate board. Common PCB etchants are:
| Etchant | Composition | Characteristics |
|---|---|---|
| Ferric Chloride | FeCl3 solution | Fast acting, reusable |
| Ammonium Persulfate | (NH4)2S2O8 + H2O | Slower, single use |
| Sodium Persulfate | Na2S2O8 + H2O | Like ammonium, oxidizer |
| Hydrogen Peroxide + Acid | H2O2 + HCl / H2SO4 | Faster rate, high quality |
Ferric chloride is the most popular for home etching given its rapid cu dissolution, reuse capability and easier handling than acidic mixtures. Prepare 30-45 degC, 1.5 litre FeCl3 stock solution at 35-45 gpl concentration.
Always exercise caution when preparing and using chemical etchants based on safety instructions.
Agitation Method
Agitation circulates the etchant uniformly across all surfaces of the PCB for smooth uniform etching without any sticking residues. Options are:
- External pump recirculation
- Air injection bubbles
- Motorized paddle stirring
Small submersible pumps with 100 LPH (litres/hour) flow rate provide adequate circulation for DIY machines. Fit with PVC tubing allowing adjusted placement inside the tank.
Heating Approach
Heating the etchant accelerates the etching reaction rate. Considerations are:
- Optimal temp is 30-45 degC for FeCl3
- Direct heating risks fumes or reaction runaway
- External heating with hotplate/element with thermal insulation
External heating of etching solution works safely using a hot plate or off-the-shelf brewing belt heater with thermal insulation wrapping. This maintains consistent solution temperatures.
Plumbing Fittings
We need suitable corrosion-resistant fittings and valves to enclose the fluid system enabling draining, refilling and filter cleaning operations.
- Ball valves made of plastic/PVDF to control inlet, outlet and drain lines
- Elbows & nipples – PP or PE construction
- Liquid filter – 10-20 micron filtration before pump inlet removes particulates
With the equipment criteria decided, let’s start the construction steps.
Constructing the Etching Machine
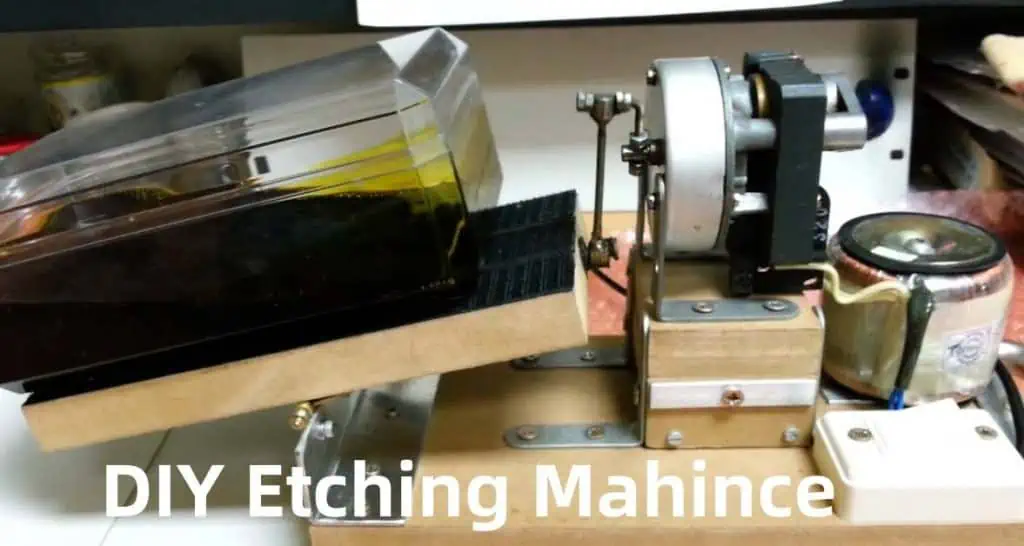
Follow these steps to build the complete etching unit:
1. Mark Container Lid Cutouts
The tank needs inlet and outlet connections for the heated etchant recirculation loop.
Cut out appropriately sized holes in the lid for:
- Pump suction line
- Return line from external heater
- Drain outlet
- Filter housing
- Thermowell/temperature sensor
- PCB holder access slot
Position to ensure free flow and also accommodate a false perforated bottom.
2. Assemble Fluid Plumbing Circuit
This forms the external heated recirculation loop for pumping etchant to and from the tank.
Connect the following hardware with solvent-welded joints:
- PVC/PVDF valves on inlet, drain and return line
- Elbows and nipples to match port alignments
- Liquid filter – install before pump inlet
- External heater (hot plate/heating element) in the return line
- Thermometer and sensor immersion wells/pockets with insulation
Insulate all heated areas to minimize heat losses. Place ball valves strategically to control flows.
3. Install Internal Agitation
This circulates heated etchant within the tank across all sides of the PCBs.
Fit a small fountain pump inside the tank through the inlet. Position it away from the PCB holder area with outlet oriented towards boards. This distributes fluids evenly ensuring no stagnant zones.
4. Set Drainage Mechanism
Provision for periodic draining and refilling of spent etchant.
Attach flexible chemical hose to the drain port valve reaching externally up to a storage bottle placed below tank level. This enables gravity drain by simply opening the valve.
Similarly connect the return line outlet into the etchant tank at adequate height. Place storage containers under drain outlet.
5. Enable Temperature Control
Maintaining optimum temperature accelerates etching without runoff issues.
- Install thermowell with sensor in tank inlet
- Connect to temperature controller unit
- Use heating plate/coil with insulation as the control device
This regulates the external heater unit to heat circulating etchant fluid to preset 35-45 degC range.
6. Design PCB Holder
This cradles PCBs being etched evenly spaced from all sides allowing free flow of etchant.
Consider a perforated caddy with structural ribs or slotted panels. Anchor to the tank lid leaving the agitating pump area clear underneath.
Provision to mount PCBs vertically or horizontally facing the central fluid flow using snap-on clips or fasteners. Maximum panel size should match typical PCB blanks.
This completes construction of the etching equipment. Now we are ready to prepare the chemicals.
Preparing and Using the Etching Machine

Follow the start-to-finish sequence to use the etching system productively:
Step 1 – Prepare Ferric Chloride Etchant
Mix 1.5 litres of ferric chloride etchant stock solution in a separate container with deionized water. Concentration levels range from 35 grams per litre to 45 gpl depending on needed etching rates.
Always add the chemical to water gradually. Allow to fully dissolve using magnetic stirrer before transferring to the etching tank. Repeat until reaching max fill mark.
Step 2 – Test Heating System
Connect the heater and circulation plumbing to support external recirculation. Heat the etchant gradually to 35 degC temperature without connecting pump. Test insulation effectiveness.
Step 3 – Install Internal Pump
Secure the fountain pump inlet to tank lid cutout. Position outlet to face center of tank. Test check by running momentarily to prime all air bubbles and verify flow distribution.
Step 4 – Load PCB Sample
Fabricate your printed circuit board layers with photoresist imaging of conductors ready for etching. This premasking protects areas not to be dissolved.
Hold PCB on the etching fixture and lower into fluid until halfway immersed with free flow to both sides.
Step 5 – Start Etching Run
Switch pump ON ensuring uniform bubblefree flow across panel surfaces. Maintain temperature at optimum 40 degC. Observe PCBs through tank lid till etching completes.
Step 6 – Drain, Rinse & Cleanup
Once all copper film dissolves, remove PCBs from tank and flush thoroughly with water spray. Drain back current batch of spent etchant into storage bottle for reuse.
Refill tank with preheated fresh etchant and repeat process for next PCBs. Check/replace fluid filter periodically.
This completes the operational workflow producing efficient etched printed circuit boards with your DIY machine.
Improving DIY Etcher Performance
Here are some tips to refine your homebrew PCB etching equipment:
- Maintain consistent etchant characteristics like concentration and crystal level
- Set optimal temperatures matching solution longevity
- Regular filtration and carbon treatment to replenish etchant activity
- Design suitable PCB holding fixtures optimizing area exposure
- Uniform perforations on false tank bottom aiding bubble patterns
- Judiciously use protective gear like face shield against splashes
Adhering to material compatibility, heating control and PPE guidance ensures safe experiential learning.
While basic DIY machines serve starter needs, you can enrich functionality like production grade etchers:
- Automated temperature regulation loops
- Microbubble generation for turbulence
- Printed inner tank lining preventing wall adhesion
- Spray wash stations using multiple etchant tanks
- Programmable panel movement patterns
- Used etchant regeneration systems
Creatively building your own etching equipment opens up affordable PCB prototyping capabilities encouraging electronics tinkering.
FAQ
Q1. Is a DIY etching machine safe for home use?
Yes, it is quite safe if elementary precautions around chemical handling, high temperature insulation and protective gear usage are followed. Certain etchants like ammonium persulfate are safer alternatives. Also lower concentration etchants take longer but minimize risks.
Q2. Can the same DIY etcher be used for etching aluminum boards?
No. PCB etchants like ferric chloride only dissolve copper without harming the fiberglass epoxy laminate boards. Aluminum requires aggressive caustic solutions which will also damage a DIY plastic tank system and needs special etcher materials.
Q3. How to store spent etchant solution from a homemade etching system?
Always drain used etchant gradually into sealable sturdy polyethylene bottles for safe storage. Allow sediments to settle at the bottom without agitation. Store containers properly labeled away from water contact and extreme temperatures. Reuse if suitable or professionally dispose based on regulations after sufficient neutralization.
Q4. What safety equipment should be used while operating my DIY etcher?
Use the following gear when operating the home etching setup:
- Face shield – Protects face/eyes against splashes
- Apron – Prevents skin contact with chemicals through spills
- Gloves – Use thick nitrile outer gloves to cover hand completely
- Fume mask – Optional for filtering out irritant vapors
Also work in well ventilated outdoor/garage area.
Q5. How to dispose expired or excess ferric chloride etchant at home?
Never discard used etchant solutions directly into household drains. Allow it to crystallize in container and soak up sludge using paper towels for curing and drying. Wrap residue tightly with labels and call local waste management services for hazardous material disposal compliant to regional guidelines. Some metal recovery services also handle spent etchants responsibly.