DipTrace is a powerful PCB design software suite that enables engineers and designers to create professional-grade printed circuit boards. One of its crucial features is the ability to export designs to Gerber format, the de facto standard for PCB manufacturing. This comprehensive guide explores DipTrace’s capabilities and the intricacies of Gerber file export.
Understanding DipTrace
Key Components of DipTrace
| Module | Primary Function | Key Features |
| Schematic | Circuit design | Component placement, wire routing |
| PCB Layout | Board design | Track routing, copper pour |
| Component Editor | Part creation | Pin configuration, package design |
| Pattern Editor | Footprint design | Pad creation, dimension setup |
DipTrace Interface Overview
Main Features
| Feature Category | Description | Common Uses |
| Design Tools | Drawing and editing tools | Component placement, routing |
| Verification Tools | Design rule checking | Error detection, validation |
| Library Management | Component organization | Part selection, creation |
| Export Tools | File generation | Manufacturing output |
DipTrace Advantages
- User Interface Benefits
- Intuitive design
- Customizable workspace
- Easy navigation
- Context-sensitive menus
- Technical Capabilities
- Multi-layer board support
- Advanced routing options
- Real-time DRC
- 3D visualization
Understanding Gerber Format
Gerber File Basics
| Aspect | Description | Importance |
| File Format | Vector format | Industry standard |
| Data Structure | Layer-based | Manufacturing accuracy |
| File Types | RS-274X, RS-274D | Compatibility |
| Extensions | .gbr, .ger | File identification |
Gerber Layer Types
Essential Layers
| Layer Type | Extension | Purpose |
| Top Copper | .GTL | Component connections |
| Bottom Copper | .GBL | Bottom layer traces |
| Top Solder Mask | .GTS | Solder protection |
| Bottom Solder Mask | .GBS | Bottom protection |
| Silkscreen Top | .GTO | Component markings |
| Silkscreen Bottom | .GBO | Bottom markings |
| Drill File | .TXT | Hole locations |
Gerber Export Process in DipTrace
Pre-Export Preparation
- Design Verification
- Run DRC checks
- Verify component placement
- Check copper clearances
- Validate hole sizes
- Layer Setup
- Confirm layer stack
- Verify layer names
- Check layer visibility
- Set layer polarities
Export Configuration
Basic Settings
| Setting | Description | Recommended Value |
| Units | Measurement system | MM (recommended) |
| Format | Coordinate format | 2:4 or 4:4 |
| Zeros | Zero handling | Leading removed |
| Extensions | File extensions | Standard Gerber |
Advanced Options
| Option | Purpose | Usage |
| Apertures | Define shapes | Component outlines |
| D-Codes | Tool definitions | Manufacturing tools |
| G-Codes | Command codes | Movement instructions |
Step-by-Step Export Process
- Initial Setup
- Open PCB Layout
- Select File → Export
- Choose Gerber format
- Layer Selection
- Select required layers
- Configure layer options
- Set output directory
- Parameter Configuration
- Set units and precision
- Configure file format
- Define aperture table
- Generation and Verification
- Generate files
- Verify output
- Check file completeness
Best Practices for Gerber Export
File Organization
| Category | Recommendation | Purpose |
| Naming Convention | Consistent system | Easy identification |
| Folder Structure | Organized hierarchy | File management |
| Version Control | Revision tracking | Change management |
Quality Assurance
- Pre-Export Checks
- Design rule compliance
- Layer alignment
- Component clearance
- Copper pour verification
- Post-Export Verification
- File completeness
- Layer accuracy
- Dimension verification
- Drill file correlation
Common Export Issues and Solutions
Troubleshooting Guide
| Issue | Possible Cause | Solution |
| Missing Layers | Incorrect selection | Review layer setup |
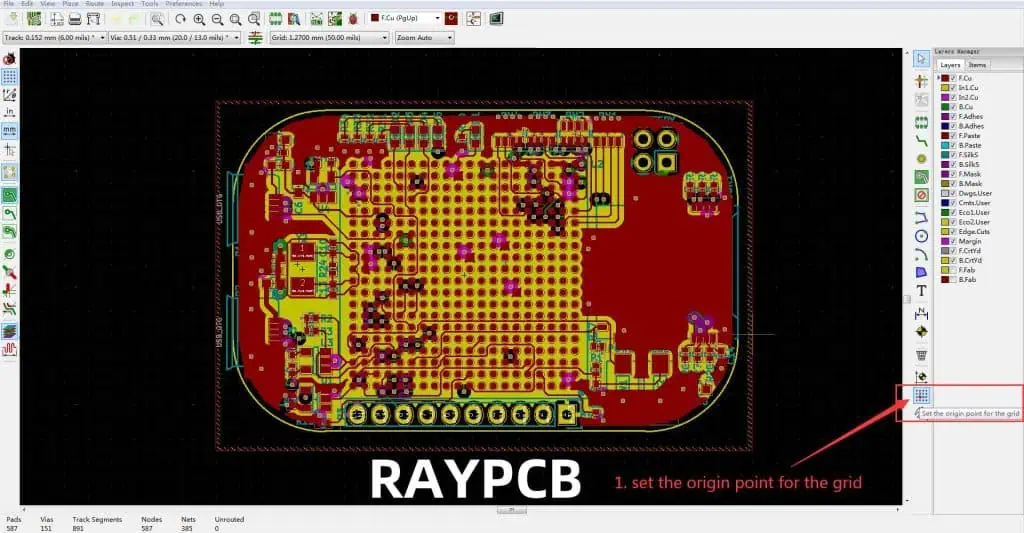
| Misaligned Elements | Coordinate errors | Check origin point |
| Incomplete Features | Export settings | Adjust parameters |
| File Generation Errors | Software conflicts | Reset preferences |
Prevention Strategies
- Regular Verification
- Periodic DRC runs
- Layer checks
- Component verification
- Export settings review
- Documentation
- Keep export logs
- Document settings
- Maintain procedure guides
- Track changes
Advanced Gerber Features in DipTrace
Custom Aperture Definition
| Feature | Use Case | Benefits |
| Complex Shapes | Special components | Manufacturing accuracy |
| Custom Sizes | Unique requirements | Design flexibility |
| Macro Definitions | Repeated elements | Efficiency |
Automation Options
- Script-Based Export
- Batch processing
- Automated checks
- Custom parameters
- Multiple outputs
- Integration Features
- CAM tool compatibility
- Manufacturing links
- Quality verification
- Documentation generation
Future Developments and Industry Trends
Emerging Technologies
- Format Evolution
- New specifications
- Enhanced features
- Better integration
- Improved accuracy
- Software Improvements
- AI-assisted design
- Cloud integration
- Real-time verification
- Enhanced automation
Frequently Asked Questions (FAQ)
Q1: Why are my Gerber files missing some PCB features?
This usually occurs due to incorrect layer selection or export settings. Ensure all necessary layers are selected and properly configured in the export dialog. Also, verify that all features are on their correct layers in the PCB design.
Q2: How can I verify my Gerber files before sending them to manufacturing?
Use a Gerber viewer software to check all layers, ensure proper alignment, and verify dimensions. Popular viewers include GerbView, CAM350, or online viewers provided by PCB manufacturers. DipTrace also includes a built-in preview feature.
Q3: What’s the difference between RS-274X and RS-274D Gerber formats?
RS-274X is the newer, extended format that includes aperture definitions within the file, making it more self-contained. RS-274D is older and requires separate aperture files. DipTrace primarily uses RS-274X for better compatibility with modern manufacturing processes.
Q4: Why do I need to include a drill file with my Gerber files?
The drill file (.TXT or .XLN) contains essential information about hole locations, sizes, and types that isn’t included in the Gerber layers. This file is crucial for the PCB manufacturer to properly drill all holes in your board.
Q5: How can I optimize my Gerber export process for complex boards?
Create a checklist including:
- Layer verification
- DRC completion
- Export settings confirmation
- File naming conventions
- Post-export verification This ensures consistency and reduces errors in the export process.